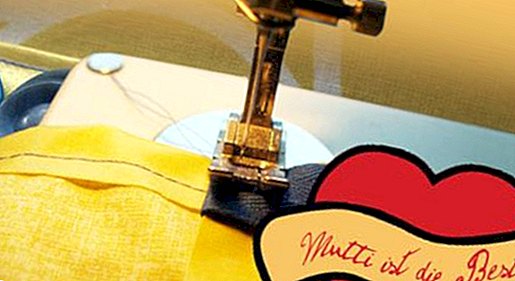
BYM.de-Selbermacher: Mom is the best!

Mom is the best!
Every year on the second Sunday in May we celebrate our beloved mothers. And every year, we ask ourselves anew: How do we make mother happy? Chocolates, flowers, perfume, ... It always somehow always comes out the same. This year, however, we have come up with something very specialthat will make Mum's heart shine with safety: A self-sewn kitchen, garden or craft apron (and homemade, as you know, ALWAYS moves)! How do you do that? Quite simply: with our BYM.de self-maker! Just follow the steps and voila: The result is the perfect Mother's Day gift!
| On the next page: That's how it works! |
 © Johanna Rundel
Print the PDF sketch and transfer all measurements to the oilcloth. The seam allowances are already included.
Step 1:

Step 1
© Johanna RundelFirst cut a rectangle with the longest length and the widest width of the given dimensions. Now you fold the rectangle lengthwise in the middle and mark the start and end points of the curve. Now draw a nice curve and then cut it out. With this method both curves become exactly the same.
Step 2:
Cut two 90 cm long and two 35 cm long pieces from the grosgrain ribbon.
Step 3:
Now the edges are serged. Since the oilcloth does not fray, you only need to put the edges back once. First lay the curves and get stuck. Then quilt. The oilcloth is not very stretchy and sometimes the sewing machine with the slightly sticky surface is not clear, so maybe practice on a remnant before a little bit.
Step 4:
Now you have to mess up the bottom hem.
| On the next page: Step 5 |

Step 5
© Johanna RundelStep 5:
Now sew on the sides, with a 90 cm piece of grosgrain ribbon sewn in at the upper ends (at the beginning of the curve) on each side (horizontal). It is best to reinforce the spot with the ribbon again with a second stitch.
Step 6:
Do the same with the upper hem, where the 35 cm straps are sewn vertically.
Step 7:
Cut out a 26 x 38 cm piece of oilcloth, turn one longitudinal edge approx. 2.5 cm and then stitch on the lower edge and once on the upper edge.
| On the next page: Step 8 |

Step 8
© Johanna RundelStep 8:
Now turn the remaining edges of the small piece one centimeter and fix it with pins in the middle of the upper third of the apron. Sew on left, right and bottom. Now we have a bag!
Step 9:
As a decoration, you can finally sew a few nice buttons on the upper edge of the bag or even cross-stitch "Mom is the best" embroider!
Have fun sewing and a big kiss to the best mom in the world!


