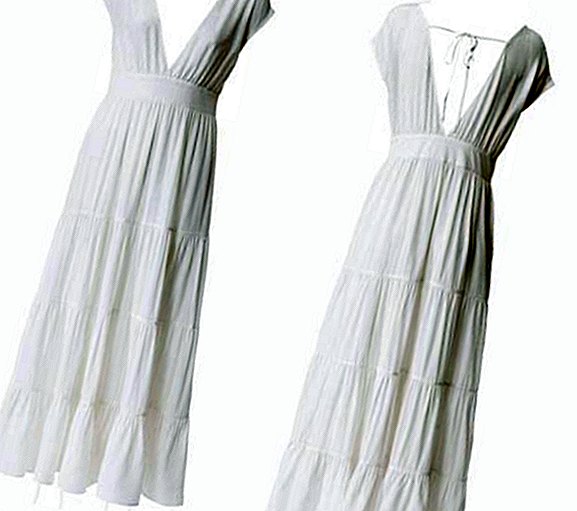
Sewing a wedding dress - a guide to sewing your own

Rear length::128 cm
Sew wedding dress - that's what you need:
- Fabric (100% silk): Gr. 36? 46, 300 cm, Gr. 48? 50, 350 cm; 140 cm wide
- 1 seam zip creme, 30 cm long
- 10 cm thin, iron-on fabric insert, white
- Here you can download the pattern sheet. When printing in the menu under "Customize Page and Options" select "Poster". Then the pattern sheet is automatically printed spread over several pages. Be sure to print the sheet in color.

Cut pieces for the wedding dress:
- 11 front part
- 12 back part
- 9 front waistband
- 17 rear waistband
- cutting: 1 cm seam allowance all around. For the armholes, cut a 4 cm wide strip in the length of the armhole edge in the oblique threadline. The following parts are given with seam allowance.
- A 1st step: 1.5 times the width of the waistband, 28 cm wide (2 times).
- B 2nd step: 1.5 times the width of the 1st step, 22 cm wide (2 times).
- C 3rd step: 1.5 times the width of the 2nd step, 22 cm wide (2 times).
- D 4th level: 1.5 times the width of the 3rd level, 22 cm wide (4 times).
Sew wedding dress - how it works:
Front and back: Close shoulder seams. Double cut in cutting edge, quilt up. Crash the edge of the armhole with the diagonal strip ironed to break, beat inwards, quilt. Crimp lower front and back edge to waistband width.
Front and back waistband: Iron inlay on outer waistband. Lay outer front waistband right to right, inner front waistband right to left on lower front edge, front pieces are centered together, sew, waistband down iron. Rear waistband and back also work.
1st stage: Crimp top edge to waistband width. 1st step crumple right to right with outer front or outer rear waistband, iron seam allowance in the waistband. Decorate the inner waistband with the cut edge cut.
2nd stage: Curl up the upper edge to the width of the 1st step. 2nd stage crumble right to right with 1st level, iron seam allowance to the top.
3rd stage: Curl upper edge to width of 2nd step. 3rd step crumble right to right with 2nd step, iron seam allowance to the top.
4. Step: Crimp top edge to 3rd step. 4th step right to right with 3rd step, ironing seam allowance to the top. Close dividing seam.
Front and back: Close right side seam right to right. Separate left side seam 34 cm from upper edge separately, close from zipper mark. Sew seam concealed zipper in left side seam.
Hem: Double-sling, quilt.
Finally: Work on a narrow ribbon and, as you like, stitch on the back of the neckline.
There are many nice patterns for dresses. Let yourself be inspired:

Also read
Sewing pattern: Sewing dress yourself - 7 airy ideas


