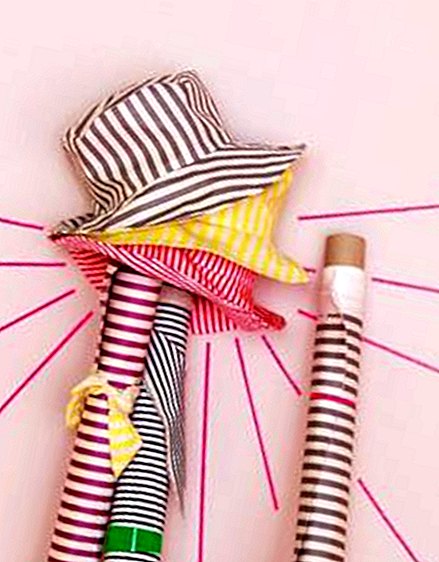
Instructions for the sun hat

 © Photos: Janne Peters / Production: Irina Graewe
You need this:
For a hat circumference of 57 cm: 1 m patterned fabric (120 cm wide), 1 m other colored fabric (120 cm wide), wrapping paper, matching sewing thread.
That's how it works:
Use the sketch to transfer the scraps cut to wrapping paper and cut (1 cm seam allowance is already included).
Transfer and cut out the three elements on both fabrics. So that the hat can be reversed later, two separate hats are sewn.
Place the short sides of a fabric rectangle right side to the right and stitch together to a cylinder at a distance of 1 cm. Iron the seam apart.
Sew on one of the fabric circles (19 cm) right to right around the cylinder, and stitch up the seam allowance at a distance of approx. 0.5 cm. Sew the second circle on the other cylinder so far that a 10 cm long opening remains to turn.
For the brim of the hat, stitch together the short sides of the last fabric element, each on the right to the right, to form a circle and iron out the seam.
Place one of the brims on the right side of the toe without opening and stitch at a distance of approx. 0.5 cm from the seam. Stitch the other around the second hat body.
Put both hats together right to right and sew the brims all around. Turn the hat through the opening and close it by hand.
Iron the brim and stitch around 1 cm around it.


