The BYM.de self-maker

The days are short and dark, the weather is on its gray side and you do not want to leave the house - that's January. But against the winter tristesse you can do something! Make yourself comfortable, for example with these atmospheric lights. First, it's time to make things and then relax. Here we go!
That's how it's done
1. Place the tip on the glass as you would like to stick it on later. Mark the spot where both ends meet, and let stand about 2cm on the ground. Cut the tip with the markings. 2. Brush the glass everywhere with the special glue, where later tip should stick, and then put it on carefully.

Step 3: How to glue the tip
3. Press firmly and brush over with special glue (this can be applied thick, because the glue dries out transparently and can not be seen later).

Step 4: How to glue the tip to the bottom of the glass
4. Cut the edge protruding from the ground 1cm intervals and then glue these strips one after the other with the glue on the ground.
5. Allow to dry well (preferably overnight), a tealight, light and relax.
| On the next page: poetic shadow games! |
That's how it's done
1. First, you have to come up with a nice poem, or pick it out. You can also write a love letter or anything else that warms your heart.
2. Now it gets a bit tricky, because now it is time to banish your poetry on the glass ... Unpack your most beautiful calligraphy, and start carefully to write. The transitions from one row to the next are particularly difficult, everything should not go awry. 3. Let it dry and, if you have used a special ceramic or glass crayon, possibly burn it in the oven as described on the pen (then it will be dishwasher safe!). 4. Now you make a kind of sheathing for the glass from the parchment paper. The distance between glass and paper should be around 1.5cm to 2cm. Cut the paper and glue the ends together with double-sided tape. 5. Set up the glass, light it with candle and put the "coat" on the outside. 6. When the candle burns, your poetry will appear as a shadow on the parchment!
| On the next page: velvet stripes! |
That's how it's done
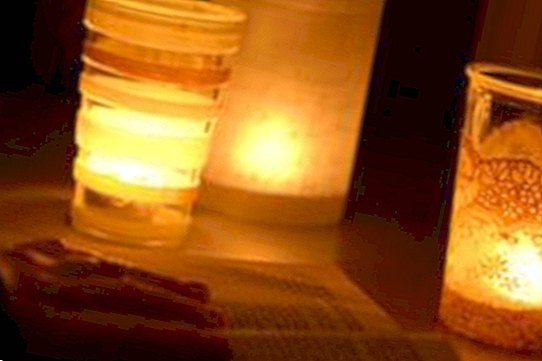
1. Place the different ribbons on the glass and arrange them so that you like them. Wrap one band after the other at the desired place around the glass and then cut it so that it fits just around it. 2. Stick on the individual pieces of double-sided tape.

Step 3: How to glue the velvet ribbon
3. Remove the adhesive tape and glue the tape. Always start at the same place (some glasses have vertical pressing marks on which you can orient yourself well), then you have a uniform "seam" at the end. 4. If this "seam" is not quite seamless, you can laminate this with a vertically glued thin tape. 5. With a burning tealight in it will be much more comfortable in your room immediately!
| >> Here you can download the self-maker as a PDF. To read the file in PDF format, you need the Acrobat Reader. You can download the program >> here. |
| All self-makers at a glance, there are HERE |


