Seal the shower: You should pay attention to this
The trend is increasingly home improvement? whether for cost reasons or the creative thought, renovations are gladly carried out by yourself. Even the insertion of a shower. Before you set up your wet cell, the sealing is elemental. Seals prevent the entry of liquid into the shell. If the spray water came out of the shower, it could cause irreparable damage.
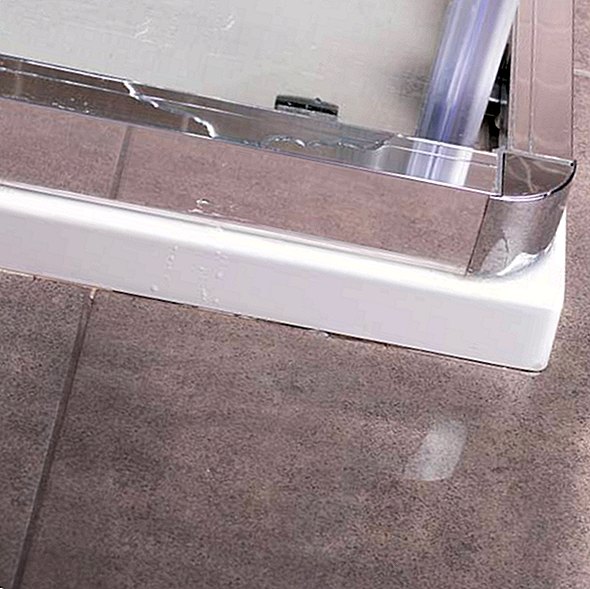
Seal the shower: what needs to be sealed?
If you want to seal your shower, does the area under, around and above the shower cubicle need to be sealed? So floor and walls, Only with careful sealing of the areas you will receive a tileable wet cell. Especially the corners, the joints around the shower tray must be sealed very well.
Seal the shower: how does it work?
To secure the shower cubicle from spillage, there are a number of sealants.
- Liquid Film: Almost every sealant comes in liquid form. He can also be easily applied with a painter's roller. But with the corners you should use a brush? that is easier. Liquid sealants such as liquid foil are suitable for showers of any domestic bathroom, which are exposed to a non-extreme load
- Dichtschlämme: Sealing muds are probably too much of a good thing for a domestic bathroom. These, because of their somewhat tougher consistency, are suitable for showers which are subjected to a high load, e.g. Shower cubicle in sports clubs or youth hostels
- sealing tape: Sealing tape resembles a sticker, which is either glued over sealing paints or directly on the wall. Sealing with a sealing tape is essential in some areas, such as the joints around the shower tray, pipe penetrations, drains and connections, but only as a supplement. There is still a seal on it
The process of sealing can take over a day? But you should definitely take this time. In the following steps we will explain how the sealing of the shower elements works.
- Prepare a reason: The area under the seal must be level. Therefore, smaller holes or other bumps should be corrected, for example, works well with tile adhesive. Important: Allow the glue to dry thoroughly!
- First surface sealing: Once the primer has dried, you can seal yourself with the first coat of paint. Start with a brush in the corners, they should be painted full. You can edit the floor and walls with a painter's scroll. By the way: As a rule, it is sealed up to 30 centimeters above the shower head.
- Close sensitive areas with sealing tape: Seal immediately after painting, if the sealant is not yet dry, corner joints and shower tray or shower tray transitions with sealing tape. Cut the sealing tape properly before fitting. Then close pipe ducts, drains and connections on the damp sealing compound with the sealing tape. There are special sealing sleeves for this purpose. You can also cut cuffs yourself. On all sealed with tape points comes a coat of sealant.
- Seal the ground: Carefully coat the floor with the seal. Drying of the first sealant lasts two hours.
- Second seal: After the drying time has elapsed, a second layer of the sealing compound comes onto the wet cell. The complete sealing layer should be completely dry. Therefore, you should wait one day for the shower to be tileable.
- Finish the shower: On the seal come the tiles. This is best done in the thin-bed process and uses water-repellent mortar and grout, which you apply directly to the seal and lay. Finally, you seal the joints with sanitary silicone. When choosing the silicone, the quality is crucial. Inferior sanitary silicone does not last long, stressing the underlying shower elements and causing them to be re-sealed.
You're a real handyman and need some tips to clean tiles, remove silicone or clean the washing machine? No problem! With our Household Tips, you'll have the best step-by-step instructions by your side.
Video tip: How to clean the joints in the bathroom again


